Quick and easy to assemble, the pack includes clear, self-closing bags and self-adhesive toppers that you can print right to the edge using any desktop printer. FREE design templates are available online. The bag toppers also have pre-cut holes for shop displays. After looking at how the online design tool worked, I designed a simple floral print which I uploaded to the online design tool, I then added in my logo. The online tool is easy to use and there are plenty of design and font options. Then I simply printed out the labels, filled the bags & sealed the bags using the self adhesive tops. Peeled the self-adhesive toppers from the printed sheet and attached it to the top of the bags.
The oval stickers were treated the same and I used them to seal my little treat bags.
I love the Avery Bag Toppers with Bags, they are so quick and easy to use and really gave my products a professional finish.
Great for all crafters, home bakers and retailers...
Great for all crafters, home bakers and retailers...
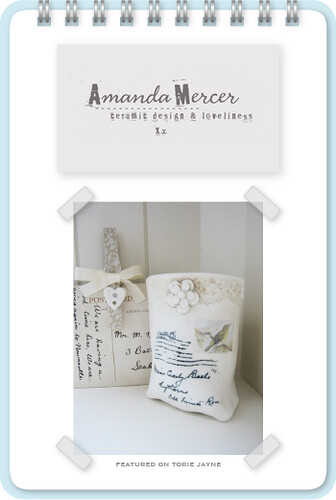
One of the shops I wanted to share with you is Amanda Mercer. A designer and maker of handcrafted ceramics inspired by memories and nostalgia. Her range consists of a collection of delicate porcelain buttons, jewellery, pretty home wear and decoration all individually handcrafted and created from her studio in the heart of the city centre in Carlisle, Cumbria.
I have a love for vintage and nostalgic memorabilia such as vintage buttons found in my Grandma's button box, scraps of lace, black and white photographs, stamps and letters, which I then like to translate through my pieces, exploring surface decoration and form. I use many different techniques to achieve this such as imprinting, screen printing and the use of decal transfers which are produced through my own drawings and collages of postage markings and letters. Each piece i create is individual therefore will always slightly vary to the next.
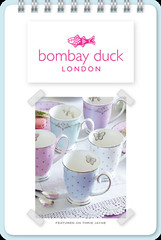
I absolutely love Bombay duck products I see them as my little treats and have to buy at least a couple of their pieces every so often.
These were my last purchases
 Miss Woodhouse Butterfly Mini Teacups and Saucers Set of 2
Once upon a time two shopping-obsessed sisters with a huge sense of adventure were born. Inspired by their travels around the world and British style, bombay Duck was created in 1993. Designed in london, the unmistakable Bombay Duck style mixes playful patterns, bright colours, detailed finishing, and an element of surprise. Bombay Duck is now a global brand but still very much a sisterly business.
There are a few UK stores that sell Bungalow products, I found Roots Living , The Avenue Ascot Berkshire, check them out on line. I purchased a notebook which has a lovely leath
Bungalow was started in the summer of 2004 after many years of fiddling with the idea of my own business. I have travelled throughout India and South Asia for the past 14 years and I have lived and studied in the Himalayas as part of my Bachelors Degree in Indian Filologi from the University of Aarhus.
Today India is literally my second home – my husband is from the beautiful state of Kerala in South India, where we keep our second home and spend our holidays.
I have always been fascinated by the beauty and colours of India and intrigued by the traditional crafts, which are still very much alive. I like the fact that the products I present have a story and has been created by real people rather than mere machinery.
My real passion is the Indian patterns of paisleys, florals, borders and repetition of motifs, and the art of block-printing was a “love at first sight” for me. My collections of block-printed home textiles are of the best quality block-printing available in India today and have been designed and produced in collaboration with the finest craftsmen.
The art of block-printing is thousands of years old and has always been a source of inspiration for textile designers around the world. Provencal prints, for example, is directly influenced by Indian block-prints.
It is my aim to create contemporary designs by combining the Indian inspiration with modern colours and aesthetics.
I hope that my products will bring colour and joy to your own bungalow !
Minna Hildebrandt
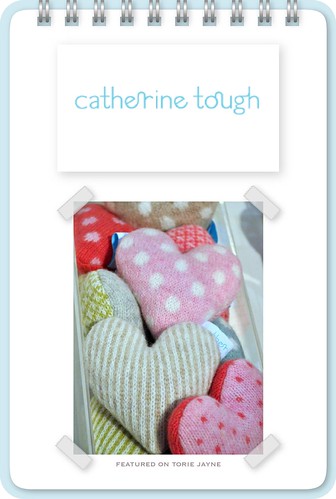
Catherine Tough established her company in 2000 following a number of commissions from her Royal College of Art final show and hasn’t stopped knitting since.
Her lambswool hotwater bottle covers launched her commercial range which has now broadened to include doorstops, cushion, bed socks and delightful lavender filled animals.
Catherine designs her collection from her Hackney studio an, along with her talented team knits, felts, hand-cuts, sews and finishes the majority of the products in house.
Catherine has built a market for her product by combining clean bold lines, understated attention to detail and an innate sense of colour.
John Lewis is a stockist.
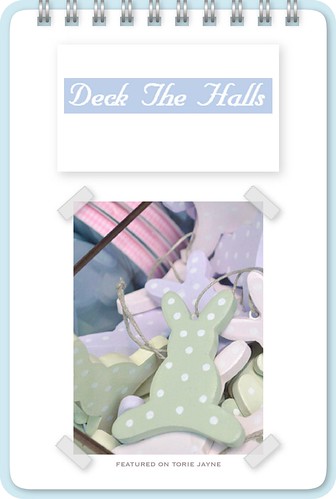
Deck-The-Halls was started by Paula on the kitchen table 10 years ago. In her words: "It was a weird start as my father died unexpectedly on Christmas day, only 6 weeks after my son was born so we did not really celebrate Christmas and I found it hard to put it away that year. I started making Christmas decorations and friends were asking me for them. I decided to see if they were just being nice by taking them to local shops, who then placed orders. I started exhibiting at Country Living Christmas 2005 where we won the editor's choice for the best stand and the rest is history!"
Paula now works full time on designing and making the collection with her husband and sells to shops including Liberty’s.
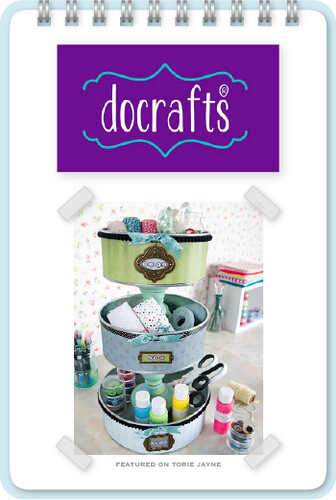
docrafts is the UK's leading craft supplier. Pronounced 'do crafts'. You may know some of their brands such as Craft Planet, Anita's and the award winning Papermania range.
They produce craft products for stamping, cardmaking, papercrafts, scrapbooking, kids crafts, soft crafts, jewellery making, cake decorating and more.
"It is our mission to develop exciting and innovative craft products and to inspire crafters to share their ideas and through our different mediums (magazine, website, galleries etc.) make social connections to facilitate the sharing of ideas and experiences to benefit all. To everyone here at docrafts, crafting is much more than just making things; it's extremely valuable leisure time in what is for many, very busy lives. "
Check out their website for thousands of inspiring projects, sneak peeks, prize draws and other useful crafty links.
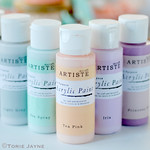
The last items I purchased was their acrylic paint which is one of my favourite brands for paint, perfect coverage every time for all my crafting projects.
Another brand I discovered at Top Drawer, Dots and Spots, purveyor of all sorts of great dots and spots goodies. From decorative tape adorned with cute beach huts and bunting, to spotty ribbons, stickers and magnets. They also do a range of gorgeous prints including cute personalized washing lines.
On my wish list is some pretty decorative tape.
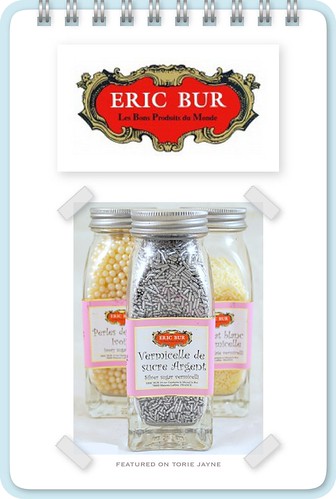
Eric Bur is a French brand. I immediately fell in love with all the pretty sprinkles they make and the beautiful glass jars they come in. In fact they are the only sprinkles I don't decant into pretty glass jars, because they already some in pretty pink labelled glass jars! Not going to Paris anytime soon, don't worry, I have brought them in TK MAX
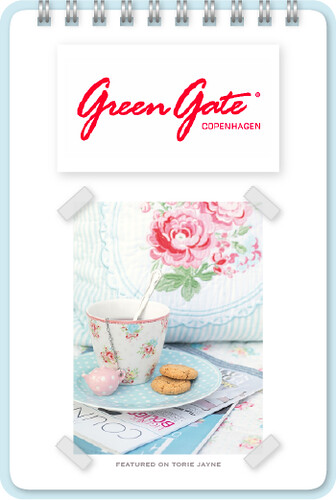
GreenGate is a Copenhagen-based interior company, centered around a cottage theme. They sell stoneware, kitchen linens, fabrics, bedspreads and lampshades, amongst other things very similar to Cath Kidston I first discovered GreenGate in 2008, whilst browsing on web, I wanted to find stockists in the UK. Fortunately, the Greengate website has a full list of them. I also found their online catalogue, from which I bought a salad bowl with matching salad servers, dinner plates and side plates.
House Doctor is a Danish brand that was formed in 1999 by two sisters, Rikke Juhl Jensen and Gitte Juhl Capel, along with their brother, Klaus Juhl Pedersen. The product range is very wide, ranging from kitchen utensils, vases and furniture to an exclusive assortment of interior design accessories. Their online catalogue is a dream to flick through for it is beautifully styled and shot, my favourites being the open shelving in the kitchen and that large glass jar full of ribbons.
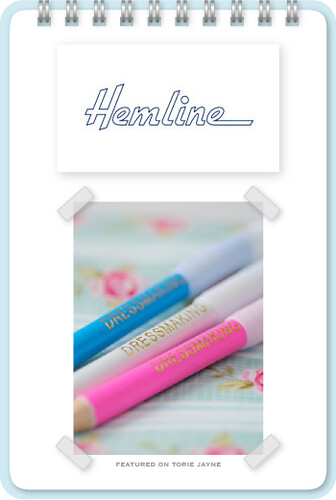
I love their water soluble marker pens and pencils and the ever so cute polka dot scissors!

